What is the difference between AgXcel and a competitor?
We at AgXcel pride ourselves on our technical support. We understand that the technical support is part of the sale. Without technical support, providing high quality products doesn’t make us different from anyone else in any field or market. Anyone can sell a product, but most can’t support that product, that is where AgXcel differs. AgXcel has several methods of tech support available. Anyone can call our office line and immediately get in contact with a live rep and not an answering machine. AgXcel offers several short and long videos online covering every kind of scenario that a farmer could come across. Along with several manuals, short and long with detailed explanations. AgXcel reps also give out their cell phone numbers for support beyond normal business hours or just for customer convenience.
We make it a goal to provide everyone with a quote the same day they ask, and not several days or weeks later where you forget the conversation you had with the sales rep. Along with any other information that anyone calls in for.
AgXcel will service our pumps for free. We do not charge more to troubleshoot our pumps or to service our pumps. The sale doesn’t just end when the pump system gets set out the door, but for the entire life cycle of that pump system.
What is the difference between the GX2 electric fertilizer pumps and GX5 hydraulic diaphragm fertilizer pumps?
- Priming:
- The GX5 diaphragm pumps are self priming pumps, which means that if the pump is mounted far away from the tank and if the pump sits higher than the bottom of the tank, the diaphragm pump is still able to pull product to prime itself. The GX5 diaphragm pumps have been mounted over 50ft away from a tank before while sitting at a higher level than the tank and have still been able to prime in under two minutes.
- The GX2 electric pumps, while they can still be mounted above the bottom of a tank, it is generally recommended not to mount the GX2 more than 4ft above the bottom of the tank, and also keep the GX2 pump system within 15ft of the tank.
- Flow Output:
- The GX5 diaphragm pumps have several different flow ranges. The smallest diaphragm pump has a flow range of 0.5 – 18 GPM and the largest model from 5 – 55 GPM. The GX5 diaphragm pump series, model dependent, is an excellent option for infurrow applications and also for 2×2 nitrogen applications.
- The GX2 electric pump is an excellent infurrow pump system, but is not recommended to be used on toolbars that are over 40ft or for applications over 5 gpm.
- PSI Rating:
- AgXcel diaphragm pumps are rated at 220-290 PSI (model dependent). Now the rest of the banjo plumbing fittings and hoses are not rated that high, but since the pump has this high of a rating, this means that you will not have flow loss at higher pressure ranges when using the GX5 pump.
- The GX2 pumps are rated for up to 60 PSI before the flow is internally recirculated in the pumps. When planting with the GX2 pump system, it is recommended to apply between 10 – 20 psi. Applying at a higher pressure range could reduce the life span of the electric motors.
- Material:
- The AgXcel GX5 diaphragm pumps are made of 316 stainless steel with viton seals and BlueFlex diaphragms.
- The GX2 electric pumps have Santoprene and Viton seals and diaphragms.
What is the difference between the GX5 diaphragm fertilizer pumps and GX5 wet seal centrifugal fertilizer pump?
- Priming:
- Diaphragm pumps are self priming pumps, which means that if the pump is mounted far away from the tank and if the pump sits higher than the bottom of the tank, the diaphragm pump is still able to pull product to prime itself.
- Centrifugal pumps are not self priming and must be mounted below the level of the tank and should be mounted close to the tank.
- Flow Output:
- The diaphragm pumps do not have as large of a flow range as a centrifugal pump does. The smallest diaphragm pump has a flow range of 0.5 – 18 GPM and the largest model from 5 – 55 GPM. The centrifugal can apply over 100 GPM in the right conditions.
- Positive Displacement:
- AgXcel diaphragm pumps are positive displacement pumps, meaning that for every revolution the diaphragm pump makes, the same amount of liquid is applied for each revolution. These style of pumps are preferred for infurrow applications, as well as for 2×2 applications as well.
- Centrifugal pumps are not positive displacement
- PSI Rating:
- AgXcel diaphragm pumps are rated at 220-290 PSI (model dependent). Now the rest of the banjo plumbing fittings and hoses are not rated that high, but since the pump has this high of a rating, this means that you will not have flow loss at higher pressure ranges when using the GX5 pump.
- The AgXcel centrifugal pump is rated for up to 120 PSI. But depending on your flow rate, you may not be able to achieve this this high of a pressure rating. Meaning if you increase your flow rate, you may not be able to achieve as high of a pressure rating.
- Material:
- The AgXcel GX5 diaphragm pumps are made of 316 stainless steel with viton seals and BlueFlex diaphragms
- The AgXcel GX5 centrifugal pump is a black epoxy coated cast iron pump with FKM seals
What is a magnetic flowmeter?
- The magnetic flowmeter that AgXcel offers uses ions that are in fluids to determine the flow rate, vs where a turbine flowmeter uses a magnet to read the pulses of a spinning turbine that the liquid moves as flow passes through the flowmeter.
- The magnetic flowmeter does not include any moving parts, which means very little maintenance is needed. No having to deal with a stuck turbine, no crystallization issues, no need to change the flow calibration number for different viscosity fertilizers. Also included are easy to read diagnostic lights on the flowmeters.
- Magnetic flowmeters are also more accurate vs turbine flowmeters. With a 0.5% tolerance, it’s hard to beat that accuracy without spending thousands of dollars more for impractical flowmeters for this type of application.
How often do I need to maintenance a GX5 diaphragm pump?
- AgXcel recommends changing the oil in the diaphragm pumps every year. It is also recommended to change the diaphragms every 2 – 3 years, depending on how many acres the pump has been used for.
- CLICK THE IMAGE TO VIEW THE VIDEO.
How often do I need to maintenance a GX2 electric pump?
- Generally, depending on use, the 5.3 GPM pumps will need to be replaced every 4 – 5 years. The PWM driver and magnetic flowmeter have a strong history of lasting for over 8 years before issues start to occur, depending on component care.
How do I winterize my GX2/GX5 pump?
- AgXcel recommends using RV Washer Fluid that is rated for below the average cold temperature of your area. You can either keep the washer fluid in the pump, which helps to keep the diaphragm moist and prevent cracking, or you can drain the washer fluid from the pump if you are nervous about the washer fluid potentially freezing. AgXcel does not recommend only rinsing the pump out with water or nitrogen before storing.
What controllers can my GX2/GX5 pump be used with?
- All major OEM’s such as John Deere, Case IH, Raven Industries, AgLeader, Trimble, Micro-Trak, and more.
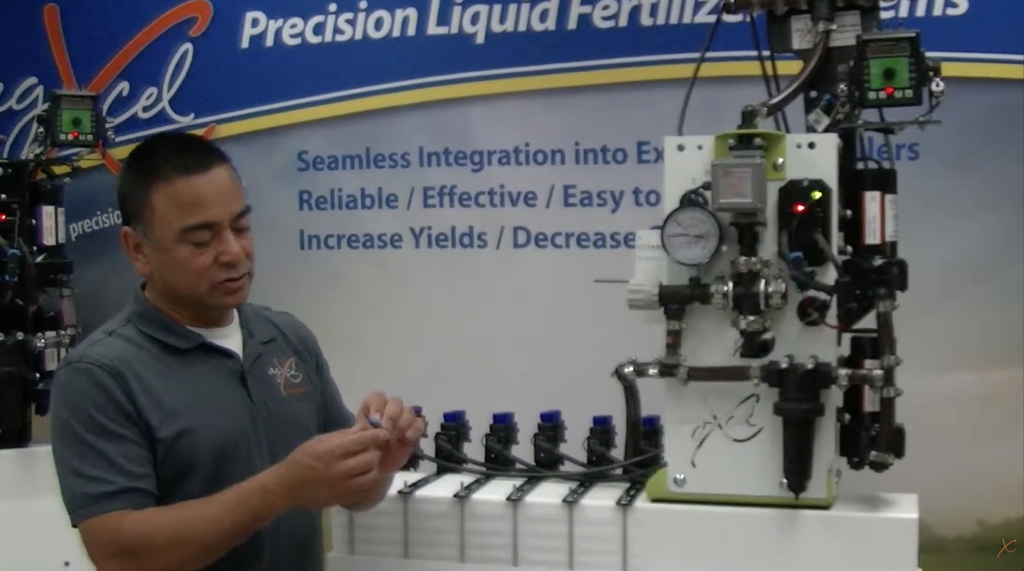
What is the difference between microtubes vs disk orifices?
- Microtubes, also known as meter tubes or friction tubes, create friction over distance which then creates restriction. The optimal tube length is 8ft to keep an inside diameter that can get up to as much as 3x larger than its comparable disk orifice. The outside diameter is 1/4″, but the inside diameter will vary, which gives us our different sizes that need to be sized for the correct application rate. Microtubes are becoming more and more popular every year with more farmers using biological fertilizers with chunks on micronutrients in the fertilizers. Or even with guys that are using compost extract, humic acids, dry mixes, bugs or fish guts, and other viscous fertilizers.
- The more traditional disk orifice however is just a flat disk with a small hole. While great for clean fertilizers like straight 32%, not ideal for dirty batches of 10-34-0 or biologicals.
- CLICK THE IMAGE TO VIEW THE VIDEO.
What is the difference between microtubes vs disk orifices?
- Download the AgXcel Calculator app from the app store or the play store. From there you can enter your implement information and flow rates. The app will then tell you which microtube or disk orifice to use.
- Android AgXcel Calculator
- iOS AgXcel Calculator
How do I apply the same amount of fertilizer at each row?
- First start by installing check valves and use the same orifice per row for all rows. After that, you want to ensure that all hoses from your manifold to the check valves, and then from the check valves to each row unit is the same length. The longer a tube is, the more restriction that is created. Fluid will travel to the path of least resistance, and the shorter tube has less resistance vs the longer tube. Now having larger tubes, like 3/8” over 1/4″, means that the restriction that is created over longer distances isn’t as noticeable, possibly even negligible.
How do I install a liquid fertilizer pump system?
- Install the tank kit first
- Install the pump system
- Install applicators at the rows
- Install the sight glasses on their stands and bolt them to the toolbar. If you are using the GX7 as the manifold, install the flowmeters to the stands then bolt the stands to the toolbar.
- If you are using the GX30, install the valves at or by the rows
- Run the hose from the pump system to the manifolds
- Run the hoses/tubing from the manifolds to check valves at or near the rows, then down to the applicator at each row
- It is easier if you follow existing harnesses or hydraulic hoses over folds on the toolbar, to ensure that no hoses get stretched or pinched when folding.
- Zip tie hoses down
- Fold the planter then unfold. Then inspect hoses and fittings for damage.
- Wet test to ensure no leaks
Why isn’t my GX2/GX5 fertilizer pump system reading flow?
- The flowmeter calibration number is incorrect
- The flowmeter is defective
- The harness from the flowmeter to the liquid controller is damaged and not allowing the pulses from the flowmeter to be delivered to the liquid controller.
- The liquid controller is not sending 12V to the flowmeter
- The liquid controller is damaged
CLICK THE IMAGE TO VIEW THE VIDEO.
Why is my GX2/GX5 fertilizer pump system pumping at max speed?
If you are not reading any flow on your liquid controller, then your flowmeter may be defective, or a harness is damaged and not allowing the pulses from the flowmeter to be delivered to the liquid controller. When any liquid controller does not read any flow rate when the pump is supposed to be on, the pump will spin faster and faster, thinking that is how it is going to read flow. It is also possible that you have an outlet blockage that is not allowing flow to go to the rows, and since flow would not be moving through the flowmeter, the liquid controller thinks there is no flow present so the pump is going to pump faster and faster.
- You could also have an incorrect setting entered, ensure that…
- You have the correct flowmeter calibration number entered for your flowmeter model
- All of the PWM settings entered are correct for your pump system
- The Minimum Flow Rate setting is set to 0
- The Boom Width setting reflects the actual size of your toolbar
Why is my GX2/GX5 fertilizer pump system pressure so high?
Either you are using a microtube or disk orifice that is too small, or if you are not reading any flow rate on your liquid controller, then your pump is pumping as fast as it can which is causing high pressure. Meaning your flowmeter or harnessing could be the issue.
How do I know if air is in my GX2/GX5 pump system?
The quickest way to tell if air is in your GX2 or GX5 pump system is by seeing if there are air bubbles in your sight glass manifold or by opening the bleeder valve on the pump system. If you open the bleeder valve and liquid isn’t coming out in a consistent stream, then air is taking the place of liquid.
Check the inlet side of the pump for cracked poly fittings, damaged orings, loose clamps, or low tank level.
CLICK THE IMAGE TO VIEW THE VIDEO.

How to do a flowmeter tap test?
You will need two guys to perform this test. The first guy will need to sit in the cab and go to the Nozzle Flow Check page. Once there, they will need to monitor the GPA & GPM. The second guy will need a jumper wire or a paper clip or some kind of wire. The second person then needs to unplug the flowmeter. Find the ground wire and the signal wire. Hold the jumper wire on the ground wire and then quickly tap the other end of the jumper wire on the signal pin. Holding the jumper wire on both the ground and signal pin will not allow the test to properly work. You must tap on the signal pin. When the second person quickly taps the signal pin, the first person in the cab will see either the GPA or GPM jump up and then back down. Keep taping the signal pin to see if the flow rate continues to jump up and down. If the rate is jumping on the monitor, then the harnessing and liquid controller are good and you may have a damaged flowmeter. If there is no rate jumping on the monitor, then there may be an issue with either the harnessing or the liquid controller.
Why isn’t my GX5 fertilizer pump system turning on?
There are several reasons why your GX5 hydraulic fertilizer pump system is not turning on or pumping any fertilizer.
Here is a list of what to check…
- Ensure your hydraulics are engaged
- Ensure your hydraulics aren’t reversed
- Ensure you are sending enough hydraulic flow
- Turn the red stem up to bypass all electronic control. This will quickly determine if the hydraulic are the issue, or if the electronics are the issue.
- Start a section test to open your section valves (if you have section valves)
- Turn your hydraulic flow down to 1 or 10%
- Find the red stop on the top of the PWM valve and, with the palm of your hand, press down and turn counter clockwise a half rotation. You will then feel the stem “click” in position and will raise roughly an 1/8” of an inch. This means that the stem is fully up and will not stop hydraulic flow from spinning the pump. You should see that the GX5 pump is not pushing liquid. You can now raise your hydraulic flow if needed to spin the pump faster. If the pump is still not pushing liquid, then the GX55 pump is not receiving hydraulic flow. The stem is the only component on the PWM blocks hydraulic flow from spinning the motor that then spins the pump. But if the pump is spinning when the red stem up, then you may not be receiving a PWM signal to tell the pump to raise the stem, allowing hydraulic flow to move the pump.
- Ensure that the PWM solenoid is receiving voltage from the liquid controller. This can be done two ways…
- Pull the solenoid from the red stem assembly, but keep the two pin PWM connector plugged in. Then start a Nozzle Flow Check. When the test is started by someone in the cab, stick a screwdriver inside of the solenoid. You will feel the inside of the solenoid magnetize if the signal from the liquid controller is provided. This means that the solenoid is raising that red stem, which allow hydraulic flow to the motor to push the pump. That red stem is the only component stopping hydraulic flow from spinning the motor that then spins the pump. This means that hydraulic flow is not being sent to the PWM block. If the solenoid is not magnetized, then either the harnessing damaged and not allowing the voltage signal to get to the solenoid, or the liquid controller is damaged.
- Unplug the two pin PWM plug from the solenoid. Have someone in the cab start a Nozzle Flow Check. Then you will need to test for voltage, with a voltmeter, on the PWM connector. If you have 12V on the connector, check to see if the solenoid is getting magnetized. If there is no voltage on the PWM connector, then either the harnessing damaged and not allowing the voltage signal to get to the solenoid, or the liquid controller is damaged. If the solenoid is not magnetized when 12V is present, then the solenoid is damaged and needs to be replaced. If the solenoid is magnetized, then the pump is not receiving hydraulic flow. That red stem that the solenoid sits around is the only component stopping hydraulic flow from spinning the motor that then spins the pump. This means that hydraulic flow is not being sent to the PWM block.
- CLICK THE IMAGE TO VIEW THE VIDEO.
Why isn’t my GX2 fertilizer pump system turning on?
There are several reasons why your GX2 electric fertilizer pump system is not turning on or pumping any fertilizer.
Here is a list of what to check…
- Ensure you have 12V to your PWM driver. You must be getting power from the battery of the tractor and you must have a minimum of 12.0V
- Ensure that when you start a Nozzle Flow Check, that the signal lights appear on the PWM driver. Depending on the PWM you have will depend on what the light signals are.
- If your PWM has a total of 5 lights, then you will have a Solid Green light, indicating that 12V is provided to the PWM. You will have a Flashing Blue light, indicating that the signal from the liquid controller is received by the PWM. And you will have a Solid Orange light, indicating that the PWM is getting feedback from the pumps that they are pumping. If you are not seeing a Flashing Blue light and a Solid Orange light, then you may not be receiving the signal from the liquid controller to turn on. Commonly, harnessing is the issue, not allowing the signal to get through. But the issue could also be the liquid controller itself, or a setting.
- If your PWM has a total of three lights, then you will have two solid red lights, indicating that 12V is provided to the PWM, and that the signal from the liquid controller is received by the PWM. If you are not seeing both Solid Red lights, then you may not be receiving the signal from the liquid controller to turn on. Commonly, harnessing is the issue, not allowing the signal to get through. But the issue could also be the liquid controller itself, or a setting.
- Ensure that when you start a Nozzle Flow Check, that the signal lights appear on the PWM driver. Depending on the PWM you have will depend on what the light signals are.
- Ensure that all connectors are plugged in
- Ensure that no wires are damaged. Meaning that no wires are crushed, pinched, pulled too tight, no corroded or burnt pins, no loose wires in their sockets.
- Ensure that your implement switch is not preventing your pump from turning on.
- Ensure the implement is in the down position if you have an implement switch
CLICK THE IMAGE TO VIEW THE VIDEO.
Why does my GX2 pump run for a short amount of time then shut itself off?
Commonly when the 5.3 GPM pumps are around 4 – 5 years old, the pumps tend to draw more amperage than what they are rated for, which then causes the PWM to cut off power. This is a common sign that the pumps are old and need to be replaced. It is normal to see the pumps only run for a few seconds before shutting off and up to a couple of minutes.
To ensure that this is the problem, try only having one of the two pumps plugged in. Commonly one pump will not draw enough amperage to shut down the PWM driver.
Also check the wires and connectors on the pumps, the Y cable, and the PWM along with the pins. Ensure that no wires are damaged, no pins are burnt or corroded, and no connectors are loose. When the pump is running, move the wire and fittings to see if you can get the pumps to turn on and off, indicating that a harness is the issue.
CLICK THE IMAGE TO VIEW THE VIDEO.

What aren’t my section valves or boom valves turning on?
Ensure that you have constant 12V going to the valves. And then, when starting a Nozzle Flow Check, that you have 12V also on the signal wire. Also ensure that your swath control is not detecting that you are in an area where liquid has already been applied.
How do I adjust my flow calibration number?
If you were to raise your flow calibration number, then you will apply more liquid. If you were to lower your flow calibration number, then you will apply less liquid. If you find that you are, for example, applying 30% more fertilizer than what you should be applying, then you can take 30% from your flow calibration number. If you flow calibration number before was 11355, then 30% of that is 7949. So 7949 would be your new calibration number. It is recommended that you would then do a catch test to ensure you are catching the correct amount of fertilizer at the row.
How do I do a catch test?
If you have entered the correct flow meter calibration number into your liquid controller, then start a flow test, also known as a Nozzle Flow Check. Once you start the test on your liquid controller, place a pitcher under just one row and for 60 seconds, catch the flow at that one row. After 60 seconds, stop collecting flow from that row and stop your flow test.
You can either 1) download the AgXcel Calculator app from the app store or play store and enter your information there to see how much flow you should have caught. Or you can 2) take the amount of flow in ounces you caught, multiply by your number of rows, then divide by 128 (to turn your ounces in gallons), and this will tell you if the GPM rate the liquid controller was reading matches the amount of fluid you caught.
How do I know if I am applying the correct amount of fertilizer?
You will want to preform a catch test at a row.
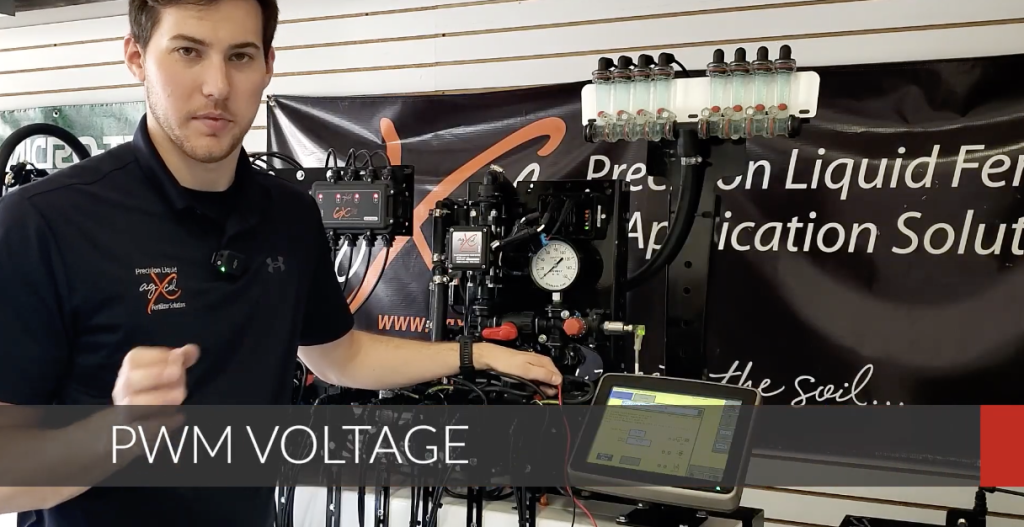
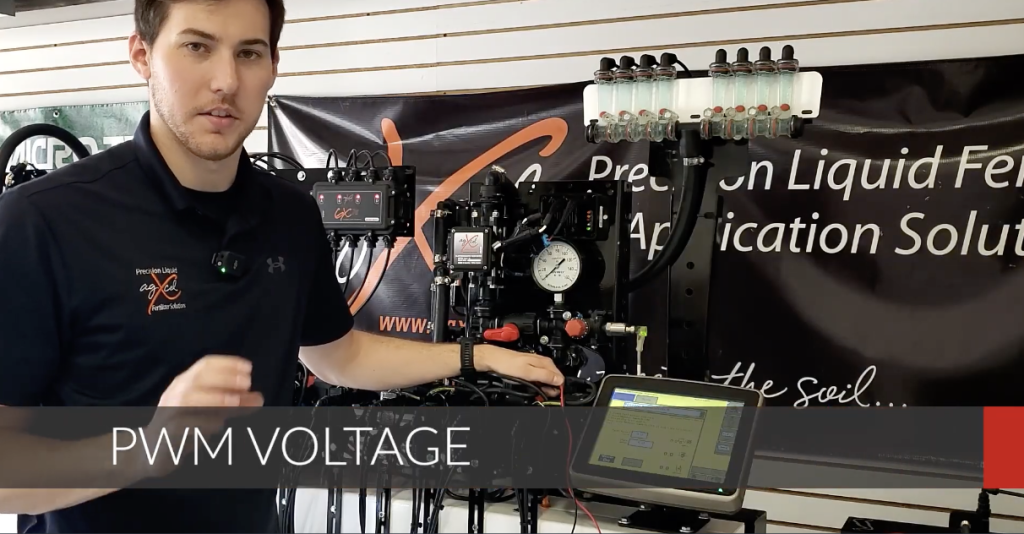
How many volts do I need to power my PWM?
The GX2 electric pump system PWM must be connected to the battery of your tractor and must receive 12V for power. If the PWM is plugged into the cab of the tractor or anywhere else, you will not have enough amperage or voltage when you start driving.
CLICK THE IMAGE TO VIEW THE VIDEO.
How many volts do I need to power my flowmeter?
The flowmeter must receive 12V from the liquid controller for power.
CLICK THE IMAGE TO VIEW THE VIDEO.

How many volts do I need to power my section valves?
The section valves, also known as boom valves, are a three wire valve. The valves must receive a constant 12V for power. The signal line will only have 12V if the valve is supposed to be turned on, meaning that you have started a Nozzle Flow Check or you are actively driving and the pump is supposed to be turned on. If the valve is not supposed to be on, then there will be 0V on the signal line.
Why is my flow inconsistent between rows?
First ensure that you have a check valve per row that are all rated at the same poundage. Then ensure each check valve has the same size orifice or microtube per row.
After that, ensure that all hoses from your manifold to the check valves, then from the check valves to each row unit, are all the same length. If those tubes are different lengths, then it is possible that more restriction could be added to the rows with the longer hoses or tubes. The longer that a tube is, the more restriction that will be created on that one tube. Since liquid will travel to the path of least resistance, the rows with the shorter tubes will apply more liquid than the rows with the longer tubes. Even if you are using larger than needed tubes per row, you may not see as large of a difference per row, but there can still be a different amount of fluid per row.
Why is my GX2/GX5 pump cavitating or making unusual noises?
If your pump is cavitating, ensure that you are not starving your pump of flow. Ensure that your inlet hose is larger than your outlet hose, and also that the inlet hose is not too large. Also ensure you are not pulling air into the pump system.
If your pump is making an unusual noise, that could be caused by air leaking into the pump. It could also be caused by debris inside of the pump which would also affect your flow rate. Either you will not be able to achieve a high enough flow rate, or your flow rate will continuously jump around your target rate.
Why am I under applying?
Ensure you have the correct flowmeter calibration number and pulses per unit entered into your liquid controller.
If the correct settings are entered, ensure that you are not pulling air into your pump.
You can also raise the flowmeter calibration number if needed. If you notice that you are under applying, for example, by 30%, then you can raise your flowmeter calibration number by 30%. Then do a catch test to ensure that you are applying the correct amount of liquid at the row.
Why am I over applying?
Ensure you have the correct flowmeter calibration number and pulses per unit entered into your liquid controller.
You can also lower the flowmeter calibration number if needed. If you notice that you are over applying, for example, by 30%, then you can lower your flowmeter calibration number by 30%. Then do a catch test to ensure that you are applying the correct amount of liquid at the row.
Why aren’t all of my rows applying the same amount of fertilizer?
First ensure that you have a check valve per row that are all rated at the same poundage. Then ensure each check valve has the same size orifice or microtube per row.
After that, ensure that all hoses from your manifold to the check valves, then from the check valves to each row unit, are all the same length. If those tubes are different lengths, then it is possible that more restriction could be added to the rows with the longer hoses or tubes. The longer that a tube is, the more restriction that will be created on that one tube. Since liquid will travel to the path of least resistance, the rows with the shorter tubes will apply more liquid than the rows with the longer tubes. Even if you are using larger than needed tubes per row, you may not see as large of a difference per row, but there can still be a different amount of fluid per row.
Why does my GX2/GX5 pump lose prime after a short amount of time?
Either your tank is not sealed or you are pulling air into the pump system somewhere. Something must take the place of liquid. So if your pump is losing prime, then air is taking the place of liquid and that air is coming in from somewhere. Ensure all clamps are tight, hoses are push all of the way on the hose barbs, there are no cracked poly fittings, all orings are in good condition, and all threaded fittings are sealed.
Why is my pressure gauge unstable or jumping around?
This could be due to your flowrate also jumping around or if there is some air in your pump system.
Why do I lose pressure or flow rate when I drive faster?
There are several reasons depending on what kind of pump system you have for this issue to occur.
- GX2
- For GX2 electric pump systems, ensure that you are not trying to apply over 5 GPM.
- Ensure that you have sufficient power supplied to the PWM driver. This means that your power source needs to be the battery of the tractor. Even if a different power source is providing enough voltage, that does not mean that sufficient amperage is provided.
- Ensure that your pressure is not above 60 PSI. The electric pumps will start to internally bypass flow at 60 PSI.
- Ensure that the recirculation valve is closed
- If you are using a thick fertilizer, then the 12V pumps might not have enough power to push the thick fertilizer.
- GX5
- Ensure that you are sending a sufficient amount of hydraulic flow to the GX5 pump
- Ensure that the recirculation valves is closed
- Ensure that you are not trying to apply at a GPM rate that is higher than what the GX5 pump is rated for.
- Ensure that you are not using an orifice or microtube size that is too small and is restricting your flow rate per row. Depending on your GPA rate, you can start to see when applying over 40 PSI that your pump could see a flow rate limitation due to the orifice or microtube size at the rows.
Why am I seeing inconsistent results between seasons despite the settings being the same as last year?
There are several situations that could occur.
- If you are testing in a temperature that is lower than when you last used the pump system, then you may be under applying.
- If you are using a different liquid product than last year, then you may need different orifices at the row. Ensure that your pressure is at a sufficient range. GX2 electric pump system should be applying between 10 – 20 PSI. GX5 hydraulic diaphragm pump systems should be between 20 – 40 PSI.
- Ensure that your diaphragms are not damaged for GX5 hydraulic diaphragm pumps. If there is no oil in the GX5 hydraulic diaphragm pump, then a diaphragm could be cracked and oil is leaking out. If fertilizer is mixing with the oil, then a diaphragm could be cracked and fertilizer is now mixing with oil in cavity of the pump, which could rot or seize the pump.
- Ensure that there are no cracked poly fittings that could allow air into the pump system. Also watch your sight glass manifold or open your bleeder valve and check for air bubbles or inconsistent streams. If even a small amount of air goes through the flowmeter, then the rate could be jumping on your monitor, causing the pump to surge.
- Ensure your filters are not plugged.
- Ensure your pump pressure is not too high where the orifice or microtube at the row is too restrictive, meaning that you would need to use a larger orifice or microtube at the row.